

Key Takeaways
Why Checking Your Oil Matters More Than You Think
Engine oil performs several critical functions simultaneously: it lubricates moving metal components, helps manage engine temperature, holds combustion byproducts in suspension, and protects against corrosion. When oil level drops or its condition deteriorates, every one of those functions is compromised — and the damage that follows can be both rapid and expensive.
Unlike many vehicle warning lights, your oil warning light is a last resort — it activates when oil pressure has already dropped to a dangerous level. By that point, damage may already be occurring. Regular manual checks are the only reliable early-warning system most drivers have. Oil consumption varies significantly between vehicles, and some engines — particularly higher-mileage ones — can burn or leak oil between service intervals without triggering any dashboard warning.
Checking your oil is one of the simplest, fastest maintenance tasks you can do yourself, and it fits naturally into a broader routine. For a full maintenance timeline, see our complete car maintenance schedule.
What you will need
What You'll Need
This task requires minimal equipment — most of which you likely already have available.
Engine oil dipstick
Built into your engine, used to measure current oil level and assess oil condition.
Clean rag or paper towel
Used to wipe the dipstick clean between readings for an accurate result.
Correct-grade engine oil
Used to top up the oil level if it falls below the minimum mark.
Funnel
Helps pour oil into the filler cap opening without spillage onto the engine.
Using the wrong oil grade can reduce engine protection, so always cross-check with your owner's manual before purchasing. If you're new to car ownership and want a broader overview of which checks to handle yourself versus leaving to a professional, our first-time driver's guide to car care is a useful starting point.
How to Check Your Engine Oil
Follow these steps in sequence for a reliable, safe reading. The whole process takes under ten minutes.
Never Check Oil on a Hot Engine
Opening the oil cap or pulling the dipstick immediately after driving risks burns from pressurized hot oil and steam. Wait at least 10 minutes after switching off the engine before checking. Checking oil while the engine is still hot also gives an inaccurate reading, as oil expands with heat and hasn't fully drained back into the sump.
Park on level ground and let the engine cool
Pull off the road or out of traffic and park on a flat, level surface. Switch off the engine and wait a minimum of 10 minutes — ideally longer if the car has been running hard. This allows oil to drain fully back into the sump and the engine to cool to a safe temperature.
Locate the dipstick and pull it out
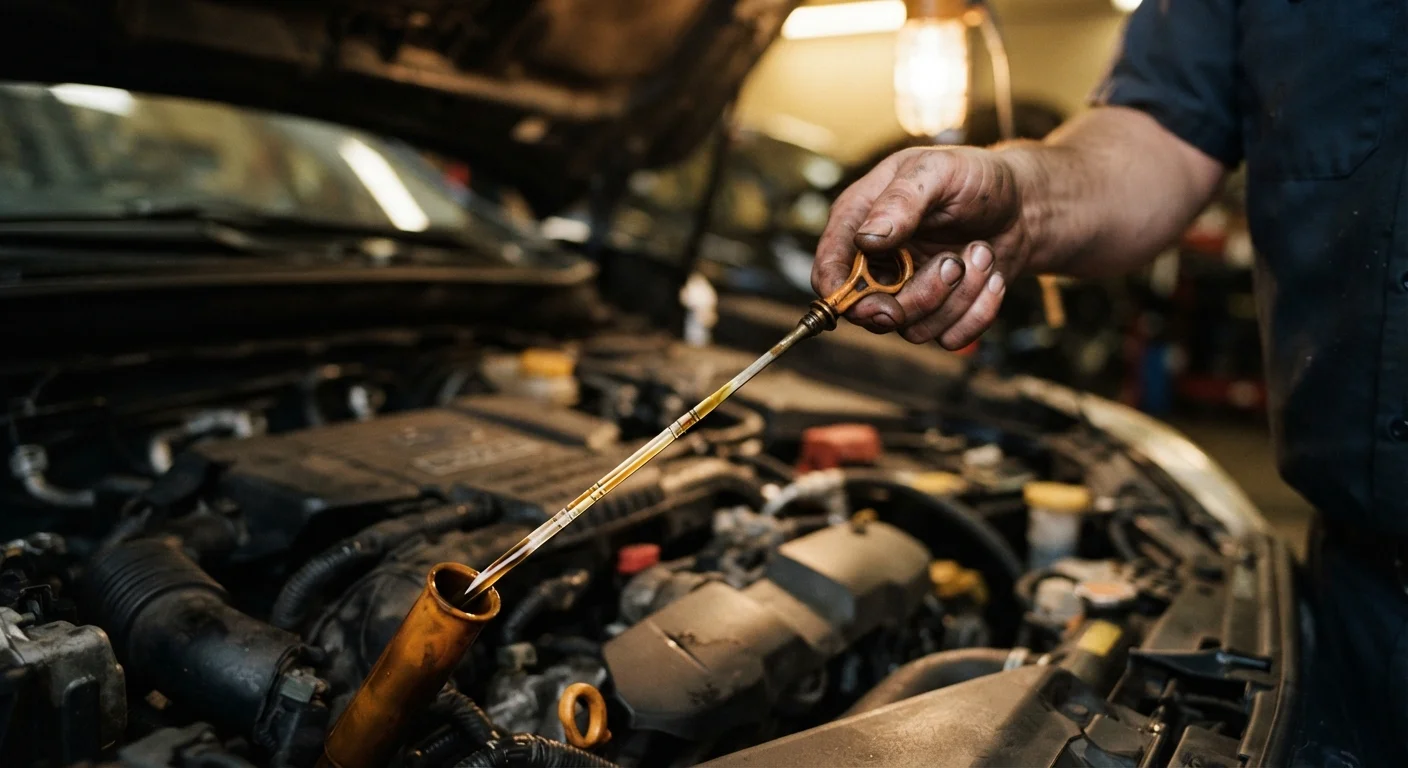
Open the hood and secure it with the prop rod. Find the dipstick — it usually has a brightly colored handle (often yellow or orange) and is labeled with an oil can icon. Pull it straight out in one smooth motion, taking care not to let it scrape against surrounding components.
Wipe the dipstick clean
Using your clean rag or paper towel, wipe the entire length of the dipstick from top to bottom. This removes residual oil that may have splashed up during driving, which would otherwise give you a false reading. Check the condition of the oil on the rag at this point — note its color and texture.
Reinsert and withdraw the dipstick to take a reading
Push the dipstick all the way back into its tube until it's fully seated. Wait one second, then pull it out again slowly. Hold it horizontally and look at the oil line against the two reference marks at the lower end of the dipstick — typically labeled MIN and MAX, or marked with two notches or holes. The oil film should sit clearly between these two marks.
Assess the oil's color and condition
Fresh oil is typically amber or light brown. Oil that has darkened to a deep brown or black is normal for oil that has been in service for a while — it doesn't automatically mean it needs changing immediately, but it's a useful indicator to note. Look for these specific warning signs:
- Milky or creamy appearance: possible coolant contamination — stop driving and seek a mechanic
- Gritty or metallic texture: metal particles in the oil — indicates internal engine wear
- Thin and watery consistency: potential fuel dilution — have this investigated
Top up if necessary — and use the right oil
If the level reads below MAX but above MIN, you may not need to add oil immediately — but monitor it closely over the following week. If the level is close to MIN or below it, add small amounts of the oil grade specified in your owner's manual. Remove the oil filler cap (usually marked with an oil can symbol on top of the engine), use a funnel, and add no more than half a quart at a time. Recheck with the dipstick after each addition to avoid overfilling.
For guidance on choosing between oil types, see our article on synthetic vs. conventional engine oil.
Replace the dipstick and close the hood securely
Push the dipstick fully back into its tube until you feel or hear it seat. Replace the oil filler cap if you removed it, and make sure it's tight. Close the hood, double-checking that it latches properly before driving.
Build It Into a Monthly Habit
The easiest way to stay on top of oil checks is to tie them to something you already do regularly — such as the first of every month or each time you fill up the fuel tank. Keeping a clean rag in the glovebox ensures you're always ready. Consistent checks make it far easier to spot gradual changes in oil level or condition before they become problems.
When a Top-Up Isn't Enough
A one-time low reading isn't necessarily cause for alarm — but a pattern of consistently low oil is. If you're topping up more than once between scheduled oil changes, or if the oil condition looks abnormal, that's worth investigating rather than masking with repeated top-ups.
Milky or Foamy Oil Is a Serious Warning Sign
If the oil on your dipstick looks milky, creamy, or foamy, coolant may be mixing with your oil — a potential sign of a blown head gasket or a cracked engine block. Do not continue driving. Have the vehicle inspected by a qualified mechanic as soon as possible, as continuing to drive can cause severe and expensive engine damage.
Common reasons for oil consumption or loss include worn piston rings, valve seal deterioration, or an external leak from a gasket or drain plug. A qualified mechanic can diagnose the cause. For a broader view of how maintenance needs evolve over a vehicle's lifetime, see our guide to vehicle maintenance from first service to high mileage.
It's also worth questioning inherited habits. The old rule of changing oil every 3,000 miles, for example, no longer applies to most modern vehicles — but plenty of drivers still follow it. For a look at which common maintenance advice holds up and which doesn't, see our article on car maintenance myths.