

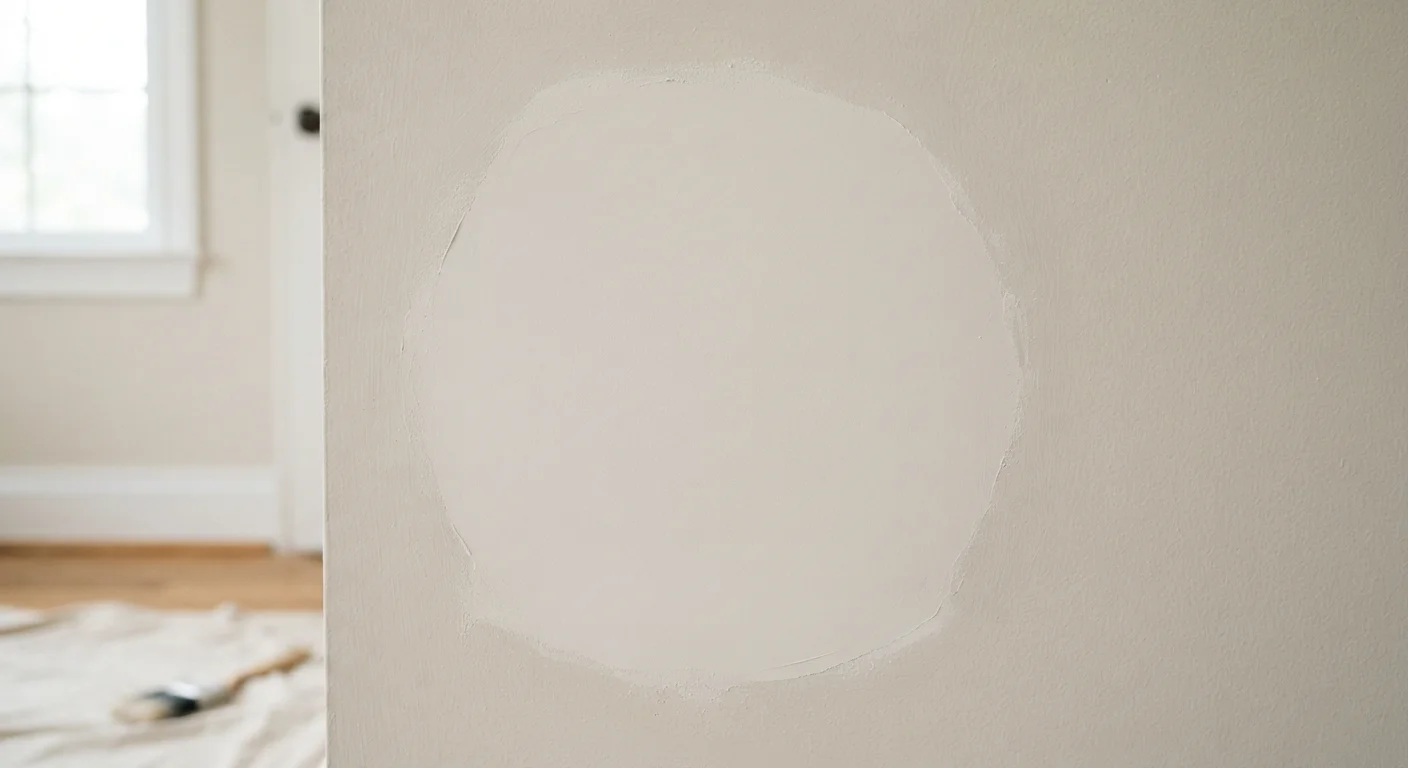
Key Takeaways
Understanding Drywall Damage
Drywall — also called gypsum board or sheetrock — is the standard interior wall material in most US homes built after the 1950s. It's durable for everyday use but vulnerable to impact damage, moisture, and fastener movement. The good news: most common damage types fall into predictable categories that respond well to DIY repair.
Nail pops happen when framing lumber dries and shrinks after construction, pushing nails outward. Small holes from doorknobs, hooks, or anchors are among the most frequent repairs homeowners tackle. Larger holes from accidental impacts or removed fixtures require more structural bridging but are still manageable for most handy homeowners.
Knowing what you're dealing with before you buy supplies saves time and avoids the frustration of an approach that doesn't fit the damage.
Check for Hidden Wiring or Plumbing First
Before cutting into any wall, use a stud finder with an AC detection mode or a separate wire detector to scan the area. Cutting through an electrical wire or plumbing line can cause serious injury or costly damage. If you're uncertain about what's behind the wall, stop and consult a licensed electrician or plumber before proceeding.
What You'll Need
Having the right materials on hand before you start makes the job go smoothly. Gather your tools and supplies, and confirm your workspace is well-ventilated — joint compound produces fine dust when sanded.
Putty knife or drywall knife (4–6 inch)
Applies and smooths joint compound over the patched area.
Self-adhesive mesh patch kit
Bridges medium-sized holes (1–6 inches) without cutting additional drywall.
Pre-mixed joint compound (all-purpose)
Fills and levels the repaired area before sanding and painting.
Sandpaper (120- and 220-grit)
Smooths dried compound flush with the surrounding wall surface.
Primer
Seals the repaired area so the final paint coat applies evenly.
Drywall saw or utility knife
Cuts clean edges when squaring off larger holes for a backing patch.
Stud finder with AC detection
Locates studs and helps identify hidden wiring before cutting into the wall.
Sanding sponge
Wet-sands final coats in tight areas without creating excessive dust.
What you will need
Joint compound is available in pre-mixed tubs, which are the most convenient option for small- to medium-sized repairs. Avoid fast-setting powder compounds for beginner repairs — they harden chemically rather than by drying and leave almost no time for correction.
Step-by-Step Patching Instructions
Follow these steps in order. Rushing the drying time between coats is the most common reason DIY drywall repairs look obvious after painting. Patience at each stage produces a noticeably better result.
Assess the damage and choose your method
Match your repair approach to the size of the damage:
- Nail holes and small dents (under ½ inch): A single application of spackling compound or lightweight joint compound, applied with a finger or putty knife, is all that's needed.
- Medium holes (½ inch to 6 inches): A self-adhesive mesh patch kit provides a stable backing for joint compound.
- Large holes (over 6 inches): Cut the damaged section into a clean rectangle, attach wood or metal backing strips inside the wall cavity, and install a new drywall piece before taping and mudding.
Prepare the damaged area
Remove any loose paper facing, crumbled gypsum, or protruding fasteners around the hole. For nail pops, drive the existing nail slightly deeper with a hammer, then drive a new drywall screw about 2 inches above and below it to re-anchor the panel. Clean the surface with a dry cloth so no dust or debris interferes with adhesion.
Apply the patch backing
For small holes, skip this step and move directly to compound application.
For medium holes, center a self-adhesive mesh patch over the opening and press firmly so all edges bond to the surrounding wall.
For large holes, cut the damaged area into a clean square or rectangle using a drywall saw. Cut two wood strips (1×3 or 1×4 lumber works well) slightly longer than the hole's height. Slide them inside the wall cavity and screw them to the existing drywall edges with drywall screws. Cut a new drywall piece to fit, then screw it to the backing strips. Apply drywall tape along all seams.
Apply the first coat of joint compound
Using a 6-inch drywall knife, spread a thin, even layer of all-purpose joint compound over the patch, extending about 3–4 inches beyond the edges. Work in smooth, overlapping strokes. For mesh patches, press compound firmly through the mesh openings to ensure full contact with the wall beneath. Scrape away any excess and let the coat dry completely — typically 24 hours depending on humidity and room temperature.
Sand, apply a second coat, and repeat
Once the first coat is fully dry, lightly sand with 120-grit sandpaper to knock down any ridges. Wipe away dust with a dry cloth. Apply a second, slightly wider coat of compound, feathering the edges outward an additional 3–4 inches beyond the first coat. For larger patches, a third coat is often needed. Each coat should be thinner than the last. After the final coat dries, finish-sand with 220-grit paper until the surface is smooth and flush with the surrounding wall.
Match texture, prime, and paint
If your walls have a texture (orange peel, knockdown, or smooth), replicate it before priming. Orange peel texture can be approximated with a spray can of texture compound. Knockdown texture is applied by flicking diluted joint compound and then lightly flattening it with a knife. Let any texture dry fully.
Apply a coat of drywall primer to the repaired area. This seals the porous compound and prevents the paint from absorbing unevenly — a condition called flashing. Once the primer is dry, paint the repaired area to match the surrounding wall. You may need to repaint the entire wall panel for a seamless color match.
Feathering Is the Secret to a Smooth Finish
Apply each coat of joint compound in thin, wide strokes that extend several inches beyond the previous coat — a technique called feathering. This blends the patch into the surrounding wall so the repair is invisible after painting. Resist the urge to apply thick coats; thin layers dry faster and sand more easily.
When to Call a Professional
Most holes up to about six inches across are realistic DIY projects. Consider bringing in a licensed drywall contractor or general contractor if:
- The hole is larger than six inches and you're not confident building internal backing
- The damage involves water staining, mold, or soft, crumbling gypsum — signs of a moisture problem that must be resolved before patching
- The damage is near an electrical panel, outlet, or plumbing fixture
- Your walls have a complex texture (heavy skip-trowel, for example) that's difficult to replicate without experience
Older Homes May Contain Lead Paint
Homes built before 1978 may have lead-based paint on walls. Sanding or cutting drywall in these homes can release lead dust, which is a health hazard. Consider using an inexpensive lead test kit before sanding, and follow EPA RRP (Renovation, Repair, and Painting) safety guidelines. When in doubt, consult a certified lead-safe contractor.
A professional can typically complete even a moderately complex patch in a few hours. Getting a written estimate before agreeing to any work helps you weigh the cost against the DIY effort involved.