

Key Takeaways
Why Caulk Fails Before Its Time
A caulk joint that peels, cracks, or grows mold within a year is almost never a product problem — it is a process problem. Caulk is a flexible sealant that bonds to two surfaces simultaneously, and that bond depends entirely on what those surfaces look like at the moment of application. Contamination, moisture, and mismatched materials are the three factors that undermine adhesion before the caulk ever has a chance to cure.
The good news is that all three are entirely within your control. Understanding why each failure mode happens makes it straightforward to sidestep them on your next project — whether you are sealing a bathtub surround, closing a gap around a window frame, or finishing interior trim.
~5 years
Average lifespan of properly applied caulk
Industry guidance from building professionals generally puts well-applied, quality caulk at 5–10 years before it needs replacement, depending on location and conditions.
90%+
Of caulk failures linked to surface prep issues
Experienced contractors widely report that the vast majority of premature caulk failures stem from inadequate surface preparation rather than product defects.
The Most Common Caulking Mistakes — and How to Avoid Them
The mistakes below account for the overwhelming majority of premature caulk failures in US homes. Work through this list before picking up a caulk gun and you will be set up for a joint that holds for years, not months.
Applying new caulk over old, deteriorating caulk.
Why it happens: It feels faster to lay a fresh bead on top rather than scraping everything out, especially in tight corners.
Caulking over a damp or contaminated surface.
Why it happens: Homeowners often caulk immediately after cleaning a surface, not realizing residual moisture breaks adhesion within days.
Using the wrong caulk type for the location.
Why it happens: Many people grab whatever caulk is available without checking whether it is rated for wet areas, high movement, or exterior temperature swings.
Cutting the tube tip too wide and applying an oversized bead.
Why it happens: A wider cut feels like it fills gaps faster, but an oversized bead is harder to tool, traps air pockets, and shrinks more as it cures.
Skipping the tooling step after laying the bead.
Why it happens: Many DIYers assume the bead looks fine as-is, or don't realize that pressing the caulk into the joint is what creates a true mechanical bond.
Never Caulk Over Mold or Rot
If you spot dark staining, soft drywall, or crumbling grout beneath old caulk, stop and assess the underlying cause. Caulking over mold traps moisture and allows damage to spread behind walls. Address the source of moisture and replace any affected materials before resealing — and consult a professional if the damage extends beyond the surface.
A Repeatable Process That Gets It Right Every Time
Good caulking is less about skill than it is about sequencing. Follow these steps in order and the technique takes care of itself:
- Strip completely. Remove all old caulk with a removal tool or utility knife. Zero tolerance for remnants.
- Clean and dry. Wipe with isopropyl alcohol, let the surface air dry for several hours.
- Choose the right product. Silicone for wet areas, paintable latex for trim, exterior-rated caulk for outside joints.
- Cut the nozzle narrow. A ¼-inch opening at a 45-degree angle gives you control.
- Apply steadily. One continuous pass at a consistent angle and speed prevents gaps and bubbles.
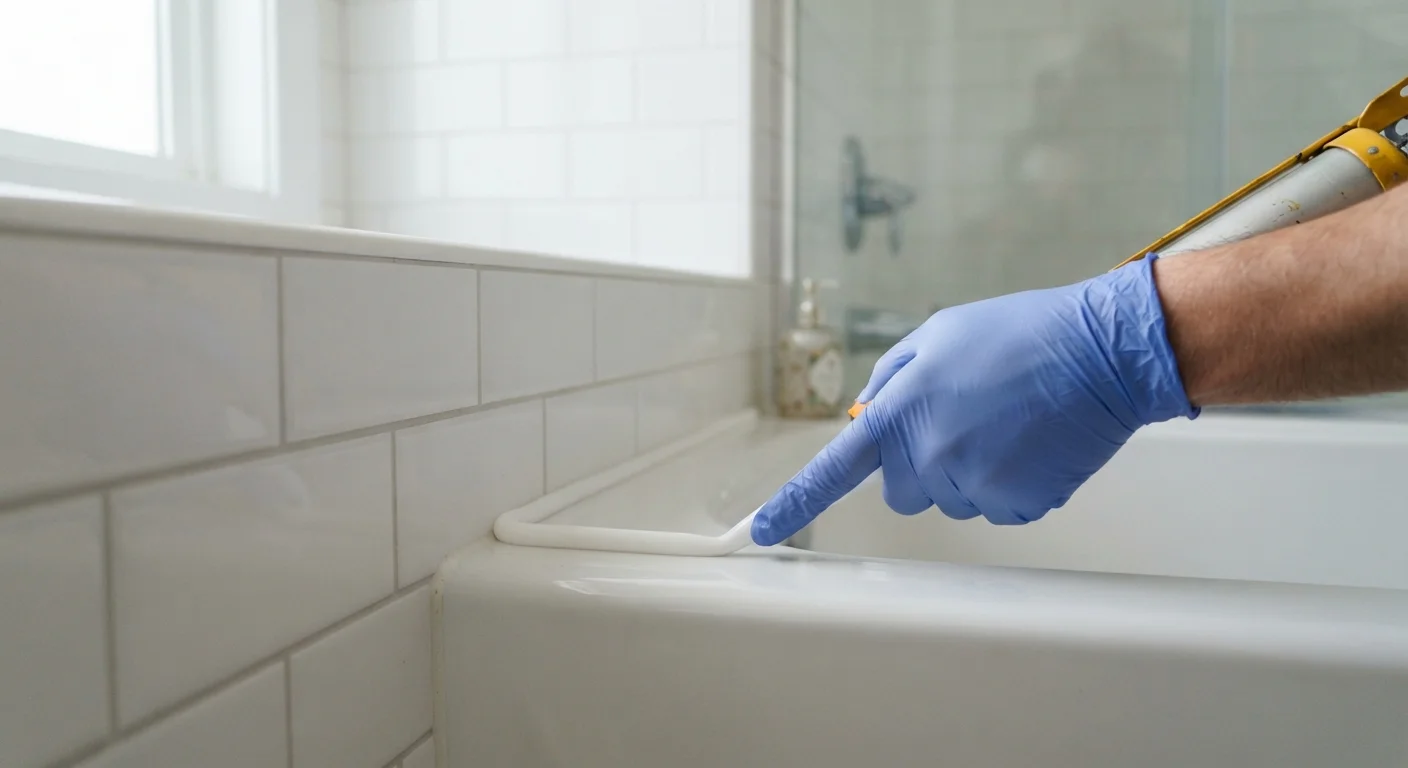
- Tool immediately. A soapy fingertip or caulk-finishing tool presses the bead in and creates a clean, water-shedding profile.
- Respect cure time. Keep the joint dry until fully cured per the label guidance.
Don't Rush the Cure Time
Most silicone and latex caulks require 24 hours of cure time before water exposure, and full cure can take up to 7 days. Using a shower or running water over a freshly caulked joint too soon causes the bead to detach before it bonds. Always read the manufacturer's cure-time guidance on the product label.
Investing an extra thirty minutes in preparation produces a seal that will outlast a hurried job by several years. When in doubt about structural gaps, widespread water damage, or any joint near electrical or gas lines, bring in a qualified professional rather than attempting the repair yourself.