

Key Takeaways
Why Draught-Proofing Gets Overlooked
Most homeowners think of energy efficiency in terms of major upgrades — insulation, double glazing, or a new heating system. Draught-proofing rarely gets the same attention, yet the gaps and cracks that let cold air in (and warm air out) can account for a meaningful share of heat loss in a typical home.
The appeal of draught-proofing is precisely its accessibility. Unlike loft insulation or boiler replacement, it requires no specialist trades, no permits, and modest outlay. It's the kind of task that fits naturally into a seasonal maintenance routine — see our seasonal home maintenance checklist for a broader framework of what to check and when.
If you've been putting it off because it seems fiddly or unclear where to start, this guide walks you through exactly where to look and what to do.
What you will need
Where Draughts Typically Hide
Before reaching for any materials, it helps to understand the most common entry points. Run your hand slowly — or hold a lit incense stick — around the following areas on a cold, windy day:
- External doors: The frame, letterbox, keyhole, and threshold gap at the bottom are the biggest offenders.
- Windows: Gaps between the sash or casement and the frame, and around any beading or glazing compound.
- Floorboards and skirting boards: Gaps between boards or where boards meet walls can channel cold air from underfloor voids.
- Loft hatch: Often uninsulated and unsealed, allowing warm air to escape directly upward.
- Pipework and cables: Holes where pipes or wires pass through external walls or floors.
- Fireplace and chimney: An unused open chimney can act like an open window.
Smoke movement from an incense stick shows air direction clearly — if it pulls toward a gap, that's your draught. Mark each problem area with painter's tape before moving on to repairs.
Test on a Cold, Windy Day
Detection is easiest when there's a meaningful temperature difference between inside and outside. If you can feel the draught with your hand, it's worth sealing. A lit incense stick held close to suspected gaps makes subtle air movement visible — smoke will drift toward or away from any gap where air is moving.
Materials You'll Need
Draught-proofing uses a small set of inexpensive materials, each suited to a different gap type. Gather what's relevant to the areas you've identified.
Self-adhesive foam tape
Used to seal gaps around window and door frames where surfaces press together when closed.
Brush draught excluder strip
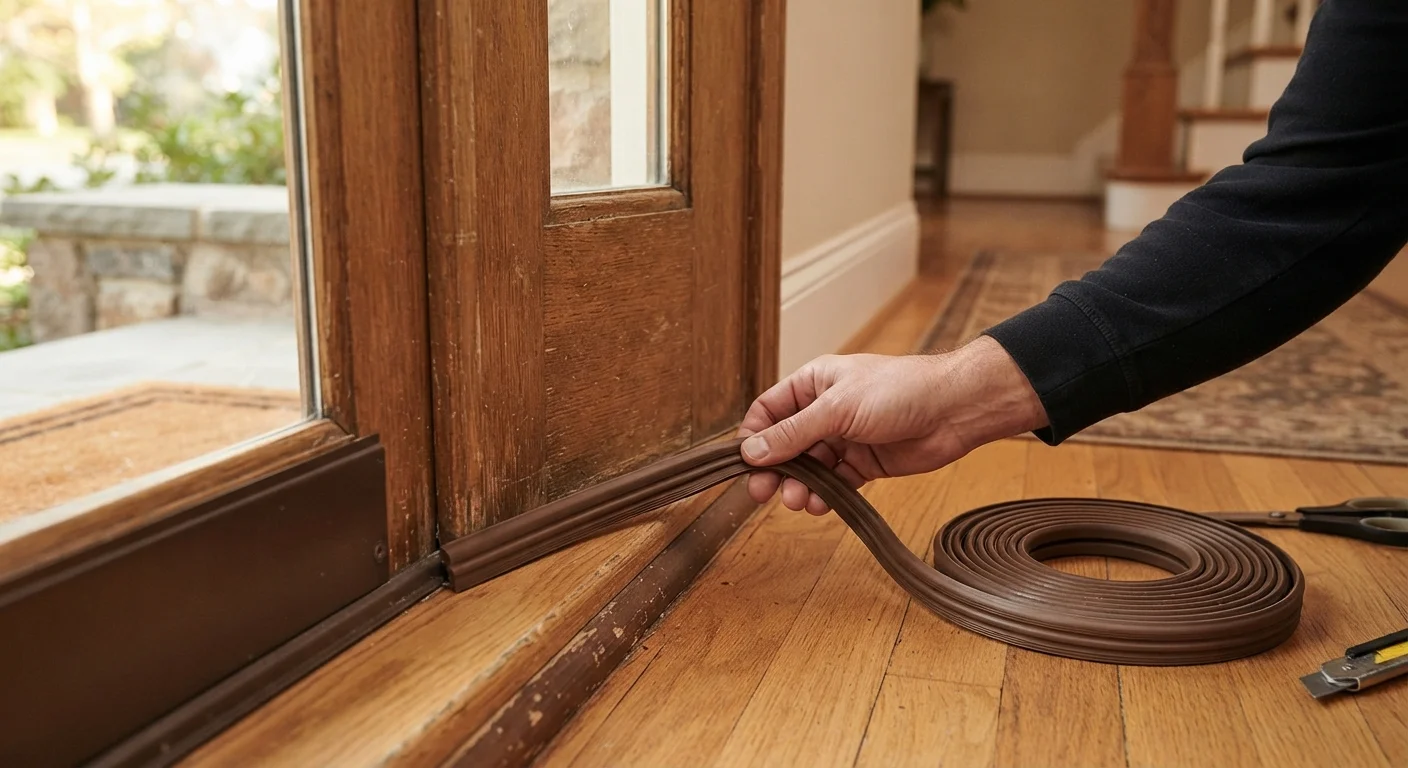
Fitted to door bottoms to seal the threshold gap without impeding the door's movement.
Flexible filler or decorator's caulk
Used to fill gaps between skirting boards and floorboards, or around pipe entries.
Chimney balloon or draught excluder
Inflatable or foam insert that blocks an unused chimney flue to stop heat escaping upward.
Loft hatch insulation kit
Foam strips and insulation board to seal and insulate an unlagged loft hatch.
Utility knife and scissors
For cutting foam tape, brush strips, and flexible seal materials to the correct length.
One common misconception is that all gaps should be sealed. That's not true — your home needs controlled ventilation to maintain air quality and prevent condensation. Never block purpose-built ventilation grilles, trickle vents in window frames, or airbricks that ventilate underfloor spaces. If you're unsure whether a vent is structural, leave it alone. For a broader look at renovation trade-offs, common renovation myths are worth reviewing before any home improvement project.
Step-by-Step: Sealing the Key Areas
Work through each problem area methodically. Tackle external doors and windows first — these typically offer the greatest return — then move to floors, the loft hatch, and any remaining gaps.
Locate and mark all draughts
On a cold day, move systematically around each external door and window, then check floors and the loft hatch. Hold your hand near the edges or use a lit incense stick — smoke drift indicates moving air. Mark every gap you find with a small piece of painter's tape so nothing is missed when you return with materials.
Clean and prepare all surfaces
Foam tape, caulk, and brush strips all adhere better to clean surfaces. Wipe down door frames, window rebates, and skirting boards with a dry cloth. Remove any old, crumbling, or peeling draught-proofing materials completely before applying new ones — layering over deteriorated material shortens the lifespan of your repair.
Seal external door frames with foam tape
Measure the perimeter of the door frame where the door makes contact when closed. Cut self-adhesive foam tape to length and press it firmly into the rebate (the recess the door closes against). Check the door closes smoothly — if it's difficult to shut, the tape is too thick and you'll need a thinner profile. Most door frames need tape on the top and two sides; the bottom is addressed separately.
Fit a brush or threshold strip to the door bottom
The gap under the door is typically the worst draught source. A brush strip (a metal or plastic bar with a row of bristles) mounts to the bottom of the door and sweeps across the threshold as it closes. Measure the door width, cut the strip if needed, and fix it with the supplied screws. The bristles should just touch the floor without dragging heavily. Alternatively, a threshold seal fixed to the floor achieves the same result for internal doors.
Address windows with appropriate sealing
For casement windows (hinged), foam tape in the rebate works the same way as for doors. For sash windows, a brush-pile strip fitted into the channel where the sashes meet allows movement while blocking air. Gaps in the glazing putty or beading around panes can be filled with a fine bead of decorator's caulk — smooth it with a damp finger before it skins over.
Fill floor and skirting gaps with flexible filler
Gaps between floorboards, or between boards and skirting, allow cold air from underfloor voids to circulate into the room. Use a flexible filler (not a rigid one, which can crack as timber moves seasonally) applied with a cartridge gun. Work it into the gap with a putty knife and wipe off the excess. For larger or irregular gaps, a strip of thin cork can be pressed in before filling.
Insulate and seal the loft hatch
Add foam tape around the hatch frame where the hatch panel rests. If the hatch panel itself is uninsulated, fix a piece of rigid insulation board to its upper face with adhesive. The goal is both to stop air movement and to reduce conductive heat loss upward through the hatch. Fit a simple barrel bolt or latch to keep it pressed firmly against the tape when closed.
Never Block Essential Ventilation
Sealing a home too tightly without adequate ventilation can lead to condensation, mould, and poor indoor air quality. Always leave trickle vents in window frames open, and never block airbricks that ventilate underfloor spaces or rooms with gas appliances. If your home already feels humid or shows signs of condensation, consult a ventilation specialist before sealing further.
Draught-proofing is genuinely one of the more rewarding low-effort home tasks. Unlike larger renovations where costs can spiral — see approaches to managing a small renovation budget — the materials here are affordable and the results are felt quickly. Draughts that once made a room feel chilly even with the heating on often disappear entirely after a single afternoon's work.