

Key Takeaways
Why Different Surfaces Need Different Approaches
Most devices are made from a combination of glass, aluminum, plastic, rubber, and delicate electronic components — often millimeters apart. A single approach to cleaning them all almost always damages something. Screens have specialized coatings that dissolve under the wrong chemicals. Keyboards are open to the interior of the device. Ports have pins that bend easily.
Understanding what each surface is made of — and what's just below it — is the starting point for cleaning that actually helps rather than harms. This also applies to how long you use your devices: pairing regular cleaning with smart usage habits can meaningfully extend how long a device stays functional. See our guide to making everyday devices last longer for related habits worth building.
Microfiber cloth
Lifts dust, oils, and fingerprints from screens and device bodies without scratching surfaces.
70% isopropyl alcohol
Disinfects hard plastic and glass surfaces when diluted appropriately; evaporates quickly to reduce moisture risk.
Compressed air canister
Blows dust and debris out of keyboards, vents, and charging ports without contact.
Cotton swabs
Reaches tight spaces around keys, ports, and seams for targeted cleaning.
Soft-bristle brush
Loosens stubborn dust from keyboard gaps before using compressed air.
What You'll Need Before You Start
Gathering the right materials before starting saves you from improvising mid-process — which is when most cleaning mistakes happen. Avoid any cloth or tissue that feels rough to the touch, and read labels on any cleaning solution before applying it near electronics.
What you will need
If you're setting up a device for the first time, a clean start matters too — cleaning your device before configuring it is a good habit. Our guide to setting up a new device without carrying over old problems explains what else to consider at that stage.
Step-by-Step: Cleaning Your Device Safely
Follow these steps in order. Each builds on the one before, and skipping ahead — particularly powering on before surfaces are dry — is the most common source of cleaning-related damage.
Power off and unplug the device
Before touching anything with a cloth or liquid, shut the device down completely and unplug it from power. For phones and tablets, hold the power button until the screen goes dark — not just to sleep. This removes the risk of electrical damage and also makes smudges and dust easier to see against the dark screen.
Clean the screen with a dry microfiber cloth first
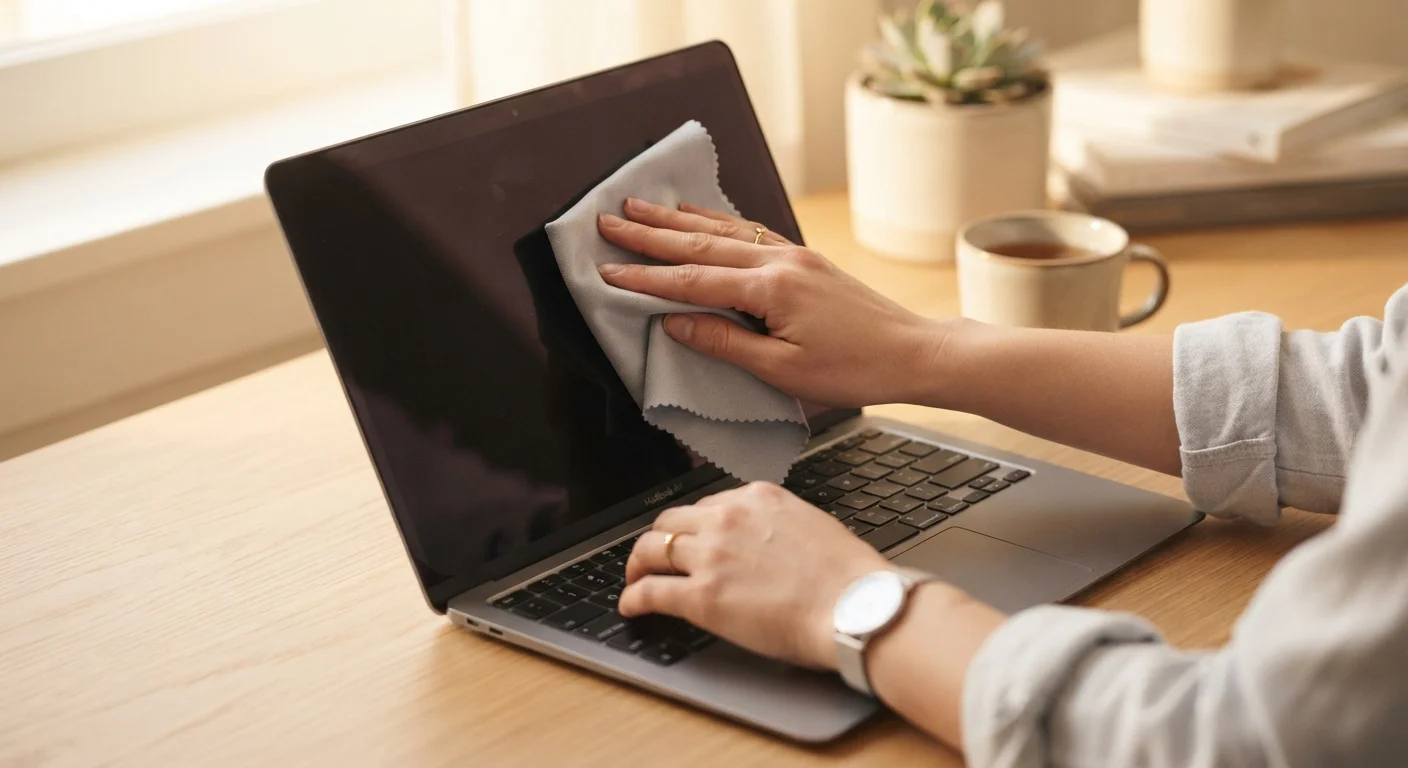
Start with a dry microfiber cloth using gentle circular motions. This handles the majority of fingerprints and light dust without any moisture at all. Apply light, even pressure — pressing hard can damage the display layers beneath the glass on modern touchscreens.
If smudges remain after a dry pass, lightly dampen one corner of the cloth with water or a 1:1 mixture of water and 70% isopropyl alcohol. Never spray anything directly onto the screen.
Clear the keyboard with compressed air
Hold the compressed air canister upright — tilting it can release propellant liquid that damages surfaces. Spray in short, controlled bursts at an angle across the keyboard, working row by row. Tilt the device slightly so loosened debris falls away rather than further into the mechanism.
For stubborn buildup between keys, a soft-bristle brush can loosen it before you follow up with compressed air.
Wipe down the keyboard and device body
Dampen a microfiber cloth lightly with 70% isopropyl alcohol — it should feel barely moist, not wet. Wipe the keyboard surface and outer casing using short strokes. Isopropyl alcohol evaporates quickly, which reduces the risk of moisture seeping into gaps.
Use a cotton swab barely moistened with alcohol to clean around individual keys and along seams. Let everything air-dry for at least a minute before moving on.
Clean charging ports and headphone jacks carefully
Ports accumulate lint and dust that can interfere with charging and audio connections. Use compressed air in short bursts directed into the port at a slight angle — this expels loose debris. If a dry cotton swab fits without forcing, you can gently twist it inside the port to collect lint, but do not apply liquid to ports.
If a port feels like it has compacted lint that won't dislodge, a professional technician has tools designed for this — DIY probing with metal objects risks bending the small pins inside.
Reassemble, dry-check, and power back on
Reattach any cases only after all surfaces are fully dry — at least two to three minutes after the final wipe. Reinsert cables and accessories. Power the device back on and check that all ports, keys, and the screen respond normally.
Never Clean a Powered-On or Plugged-In Device
Applying any moisture to a device that is on or connected to power creates a real risk of short-circuit damage. Even a small amount of liquid that reaches internal components can cause irreversible harm. Always power off completely and unplug before beginning — this is the single most important rule in device cleaning.
How Often Should You Clean Your Devices?
There's no single right answer, but a general framework works well for most people:
- Screens: A dry microfiber wipe every few days keeps oils and smudges manageable.
- Keyboards: Compressed air once or twice a month, with a surface wipe monthly.
- Ports: Check every few months, or whenever charging starts feeling unreliable.
- Full clean: A thorough cleaning every one to three months covers most use cases.
Higher-use environments — kitchens, workshops, or shared household spaces — will need more frequent attention. If you're new to managing devices in general, our introduction to everyday gadgets covers the basics of what each type of device needs from its owner.
Clean Your Case and Accessories Too
A freshly cleaned phone placed back into a grimy case picks up the same oils and bacteria almost immediately. Clean silicone and hard-shell cases with mild soap and water (dried thoroughly before reuse), and wipe down cables and charging bricks with a barely-damp cloth. It only adds a few minutes and makes the whole cleaning effort last longer.