

Key Takeaways
Why Packing Light Is a Skill Worth Building
There's a particular kind of freedom that comes from moving through an airport — or a train station, or a cobblestone alley — with only one bag on your shoulder. No checked luggage fees, no carousel wait, no lost bag anxiety. But arriving carry-on-only without leaving something critical behind requires a system, not just good intentions.
Most overpacking isn't the result of ignorance — it's the result of uncertainty. When travelers aren't sure what a destination will demand, they hedge by bringing more. The solution isn't to pack less by willpower; it's to reduce uncertainty through planning. Our minimalist packing guide explores which categories of items most consistently earn their place in a bag — and which rarely do.
Before you start the steps below, it also helps to think through your destination's specific demands. A pre-departure self-check is especially valuable for long-haul trips where packing mistakes are harder to correct once you're there.
Packing cubes
Compress and organize clothing categories within your bag, making items easier to find and maximizing usable space.
Luggage scale
Verify your bag's weight at home before you leave, preventing surprises at the airport check-in counter.
Quart-sized clear zip bag
Required for carrying liquids through TSA security checkpoints in compliance with current US regulations.
Wrinkle-resistant clothing
Reduces the need for an iron or steamer at your destination, keeping your wardrobe functional with minimal effort.
The Step-by-Step Packing Framework
The steps below walk through a reliable, repeatable process for packing a carry-on that covers everything you need without excess. Work through them in order — each step builds on the last.
What you will need
Airline Size Rules Vary — Always Check First
Carry-on size limits differ between airlines and even between fare classes on the same carrier. Before you pack, verify the specific dimensions and weight limits for your ticket. Exceeding them at the gate can mean unexpected fees or being forced to check your bag.
Write your list before touching your bag
Resist the urge to pack by feel. Instead, sit down with a piece of paper or a notes app and write out every category you'll need: clothing, shoes, toiletries, documents, electronics, and any trip-specific items. Then write the specific items under each category. This step forces deliberate thinking rather than reflexive grabbing — and it's where overpacking is most often prevented.
Build a clothing capsule around neutrals
Choose a color palette of two or three neutral tones — such as navy, grey, and white — and select pieces that mix and match with each other. For most trips, a ratio of roughly two bottoms for every three tops works well. Every item should be wearable in at least two distinct outfits. Shoes are the heaviest category per item: limit yourself to two pairs maximum, worn in different contexts (one casual, one dressier or activity-specific).
Audit your toiletries ruthlessly
Toiletries are the single heaviest category relative to necessity in most people's bags. Decant products into travel-sized containers rather than bringing full bottles. Consider whether items like shampoo, conditioner, or body wash can be sourced at your destination — most hotels and many short-term rentals provide them. Only pack what you will genuinely use every day of the trip.
Trim your tech and cables
Lay out every electronic device and cable you're considering bringing, then ask what each one does that another item can't. Most travelers carry a phone that covers photography, navigation, and entertainment — meaning a tablet, camera, and e-reader are all potentially redundant depending on your priorities. For cables, bring only those actively required for devices you're taking. A small multi-port USB charger often eliminates the need for several separate adapters.
Pack using the roll-and-cube method
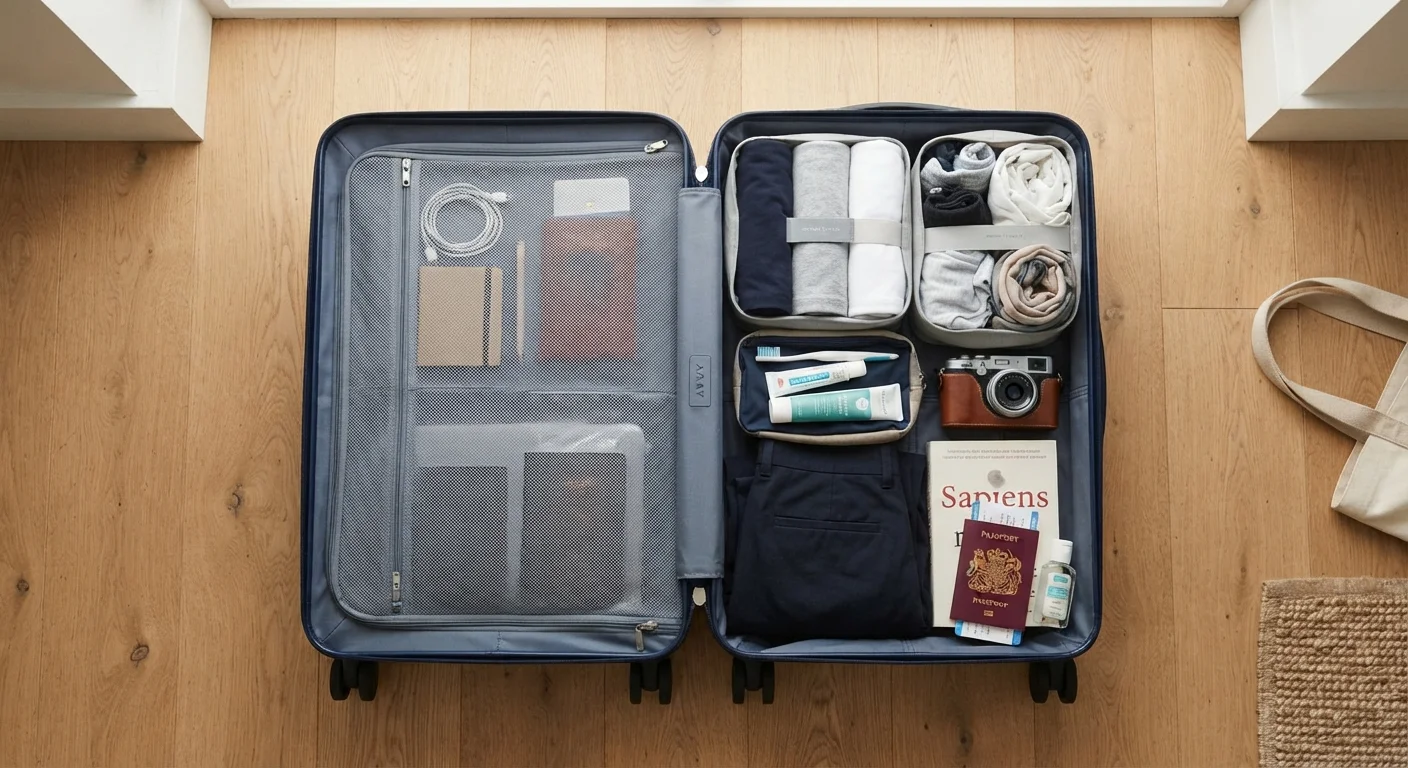
Rolling clothes rather than folding them compresses volume and often reduces wrinkles for casual fabrics. Place rolled items into packing cubes sorted by category — tops in one, bottoms in another, underwear and socks in a third. This structure makes your bag searchable at a glance and prevents repacking chaos when you're moving between locations. Shoes should be placed in the bag first (heaviest items near the wheels), followed by cubes, with smaller items filling gaps.
Do a final weight and size check
Before you zip up for good, use a luggage scale to confirm your bag falls within your airline's carry-on weight limit. Then physically measure the dimensions if you're uncertain — overstuffed bags sometimes fail gate checks even when the base bag is compliant. If you're over the limit, the clothing category is usually where you'll find items to remove. See our guide to carry-on versus checked luggage if you're weighing whether to check a bag instead.
Liquids Rules Still Apply in Carry-Ons
TSA regulations in the US limit carry-on liquids to containers of 3.4 oz (100 ml) or less, all fitting in a single quart-sized clear bag. Oversized toiletries are among the most commonly confiscated items at security. Plan your toiletry kit around these rules from the start.
The One-Week Rule Works for Most Trips
Experienced light packers often carry the same volume of clothing whether they're away for five days or two weeks — because access to laundry exists nearly everywhere. Identify laundry options at your destination before you leave, and you can pack for a week regardless of trip length.
Once you've completed a trip with this system, take five minutes afterward to note what you used, what you didn't, and what you genuinely missed. That post-trip audit is how the system improves. For a broader pre-departure review, the pre-departure travel checklist covers documents, bookings, and home logistics alongside your packing process.