

Key Takeaways
Why Home Composting Is Worth the Effort
Composting converts organic kitchen and garden waste into a stable, humus-rich amendment that improves almost any soil type. Sandy soils gain water-holding capacity; clay soils become better aerated and easier to work. The result is a growing environment that supports stronger root systems and more resilient plants — without the need for synthetic fertilizers.
Beyond soil improvement, composting diverts a significant portion of household waste from landfill. Food scraps and yard trimmings together account for a large share of what the average US household discards. Diverting that material to a backyard bin is one of the more tangible environmental contributions a home gardener can make.
For gardeners interested in building a productive food plot, pairing home-made compost with the soil preparation techniques in our beginner's vegetable garden guide creates an excellent foundation. Compost also works well alongside other organic soil strategies — see our guide to mulching for a complementary approach to retaining moisture and suppressing weeds.
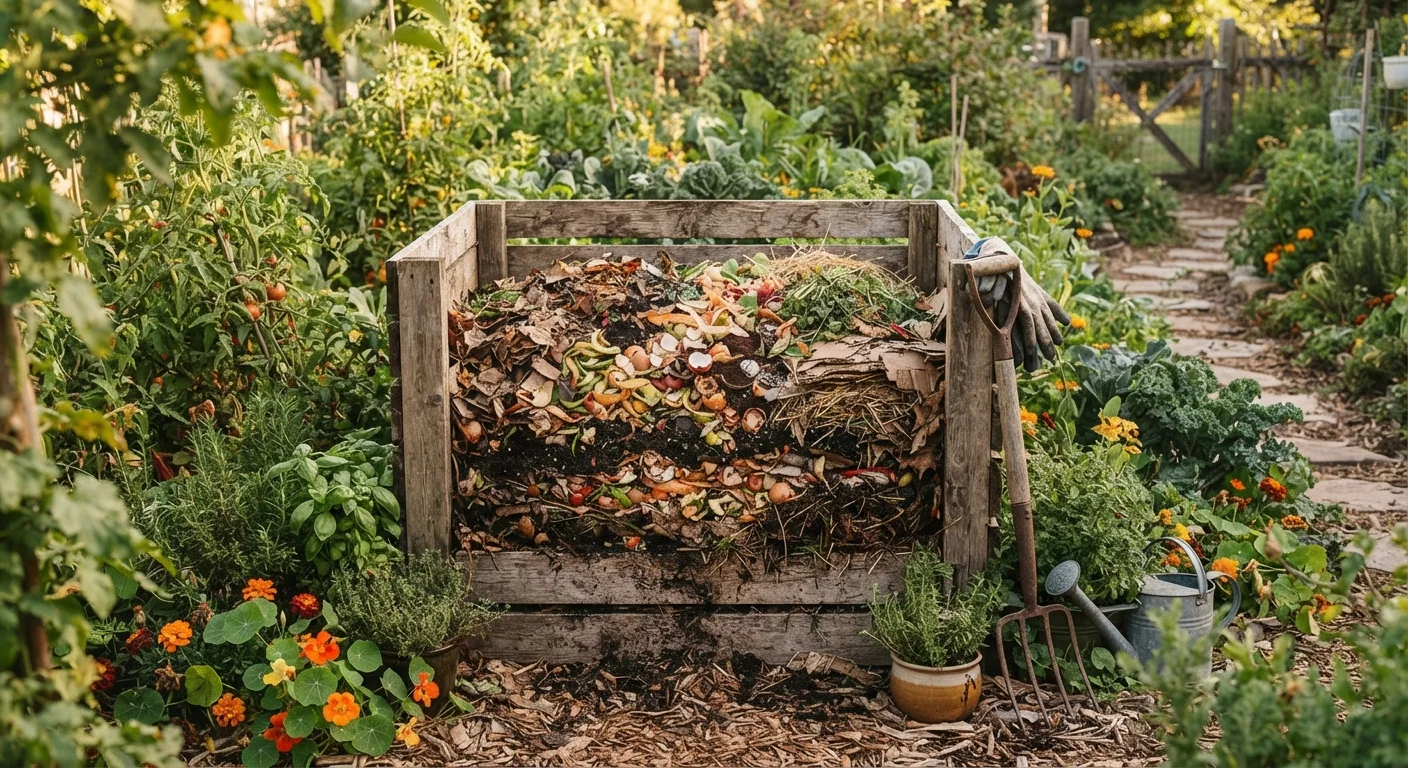
What you will need
Compost bin or designated pile area
Contains the composting materials, retains heat, and keeps pests out.
Garden fork or compost aerator
Used to turn and aerate the pile, which speeds up decomposition.
Kitchen compost caddy
Collects vegetable scraps and coffee grounds indoors before transferring to the main bin.
Moisture meter or spray bottle
Helps monitor and adjust the moisture level of the pile.
Garden thermometer
Measures internal pile temperature to confirm active decomposition is occurring.
Step-by-Step: Setting Up and Running Your Compost System
Follow the steps below to establish a working compost system from scratch. The process is straightforward, but a few key principles — balance, moisture, and aeration — make the difference between compost that matures in months and a pile that just sits there.
Choose your composting method
Select a system that fits your space and the volume of waste you generate. A simple open pile works in larger yards; a slatted wooden bin suits mid-sized gardens; a tumbler composter is a good option for small or paved spaces where pest control matters. Whatever you choose, site the bin in a partially shaded spot with good drainage and easy access year-round.
Gather your green and brown materials
Compost relies on two categories of inputs. Greens are nitrogen-rich materials: vegetable and fruit scraps, coffee grounds, fresh grass clippings, and plant trimmings. Browns are carbon-rich materials: dry leaves, cardboard torn into pieces, straw, and woody stems. A rough target ratio is roughly two to three parts brown to one part green by volume. Too many greens cause a slimy, smelly pile; too many browns slow decomposition significantly.
Build your initial layers
Start with a four- to six-inch base layer of coarse browns — straw, woody prunings, or wood chip — to promote airflow at the bottom. Add a two- to three-inch layer of greens on top, then alternate layers as you build up the pile. Lightly water each layer so the pile feels as moist as a wrung-out sponge. Avoid compacting the materials; loose structure is essential for oxygen circulation.
Turn the pile regularly
Turning introduces fresh oxygen, which energizes the microbial community breaking down your materials. For the fastest results, turn the pile every one to two weeks using a garden fork — moving outer edges into the center where temperatures are highest. If you're comfortable with a slower process, turning every three to four weeks still produces good compost; it just takes longer.
Monitor moisture and balance
Check the pile every week or two. It should feel consistently damp but never waterlogged or bone dry. Add water during dry spells and incorporate more brown material if the pile smells or looks wet. If the pile seems dry and decomposition has stalled, add a batch of fresh greens and a light watering to reactivate it.
Recognize when compost is ready to use
Finished compost is dark brown, crumbly, and smells earthy — similar to rich forest soil. Individual scraps should no longer be recognizable. The pile will have reduced to roughly one-third of its original volume. If some coarser pieces remain, sift them out and return them to a new pile to continue breaking down. Mature compost can be dug into garden beds, used as a top-dressing, or blended into potting mixes. See our vegetable garden guide for practical ways to incorporate compost when preparing new beds.
Speed Things Up with Smaller Pieces
Chopping or shredding kitchen scraps and garden trimmings before adding them to the pile dramatically increases the surface area available to decomposing microbes. Shredded leaves, for example, break down several times faster than whole ones. A simple garden shredder or even kitchen scissors can make a noticeable difference.
Never Compost These Materials
Avoid adding meat, fish, dairy, oily foods, pet waste, diseased plants, or treated wood to your home compost pile. These materials either attract pests, introduce pathogens, or break down in ways that harm the finished compost. Stick to plant-based kitchen scraps and untreated garden materials to keep your pile safe and effective.
Once your compost is ready, it works equally well in raised vegetable beds and containers. If you grow in pots or on a patio, our container gardening guide covers how to blend homemade compost into container soil mixes effectively. For ongoing seasonal maintenance of your pile through winter and summer, see our year-round composting guide.